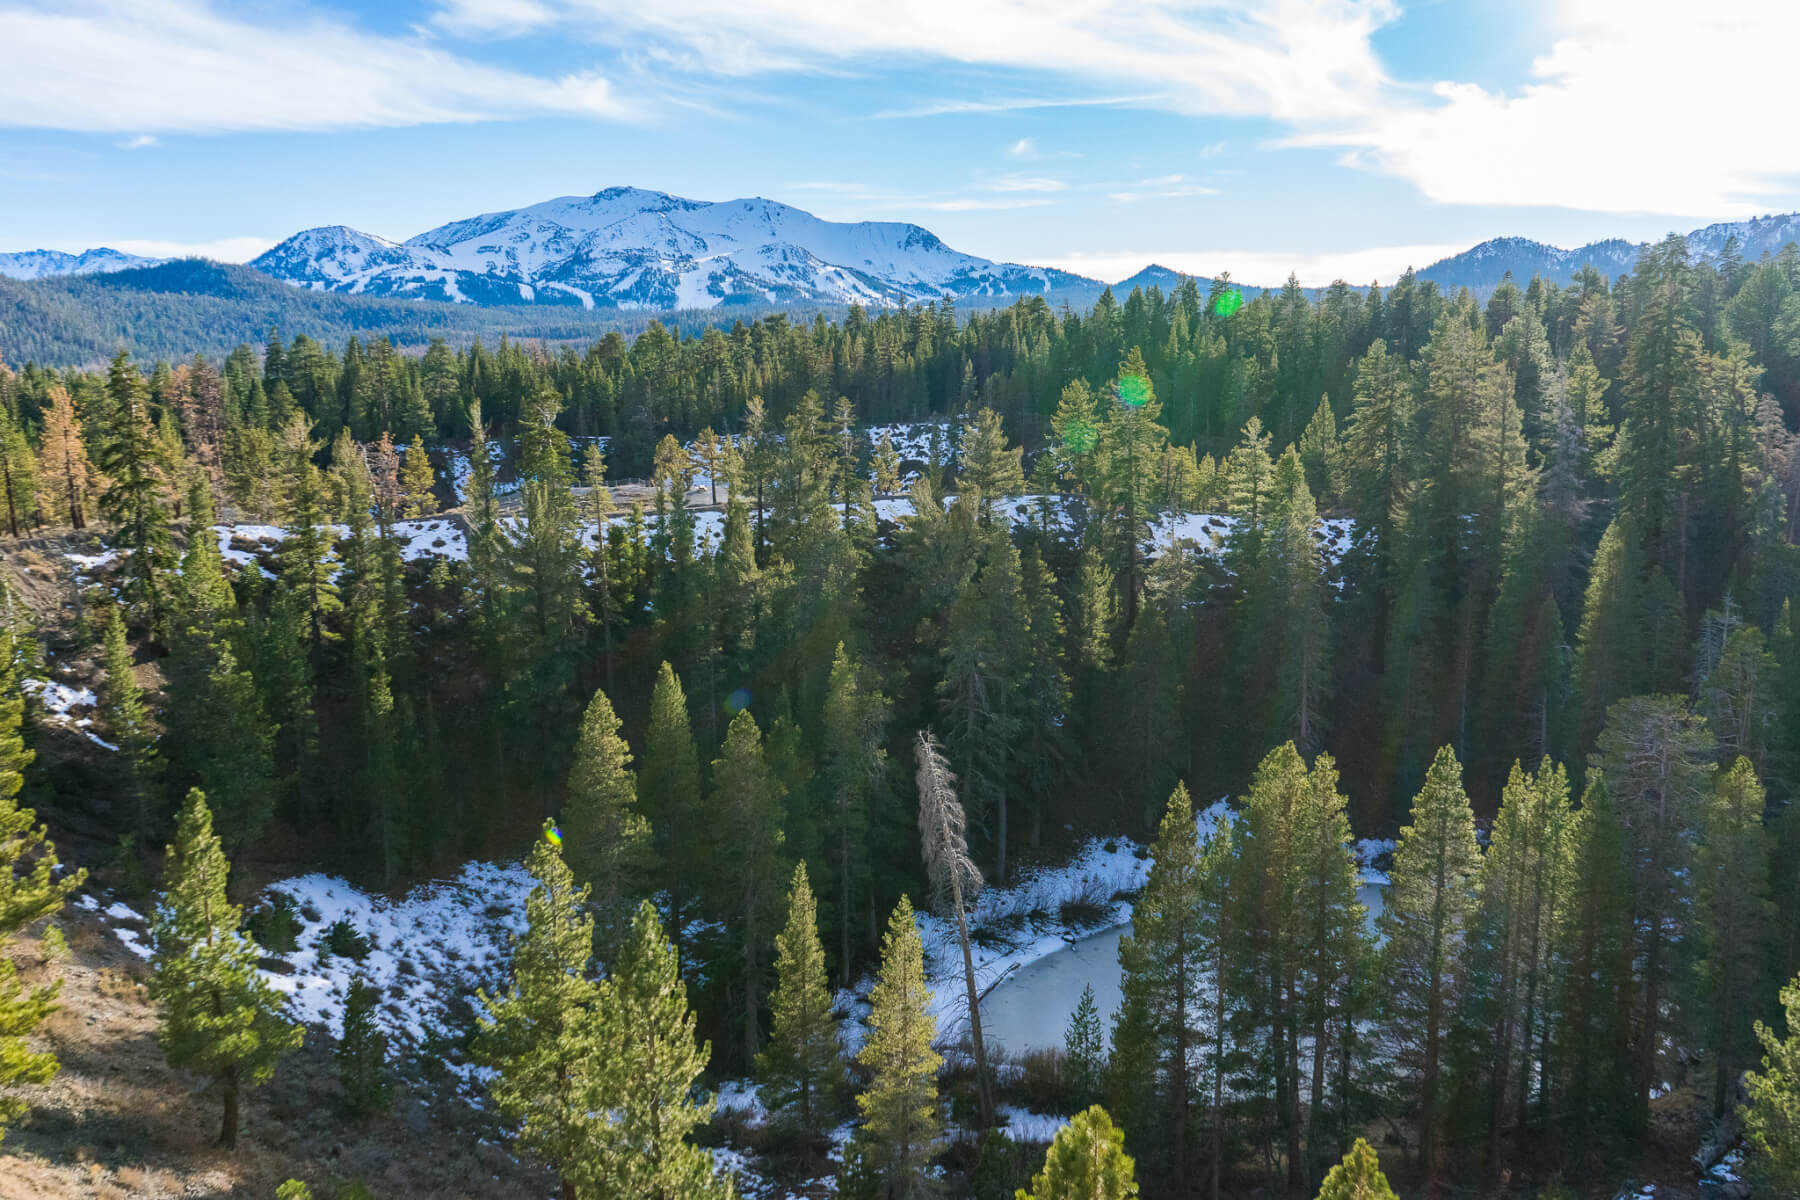
Inyo Craters
Formed by steam-blast eruptions hundreds of years ago, the Inyo Craters are a geological phenomenon not to be missed. While the dirt road to the craters is impassable to cars during most of the winter, this road can be easily hiked or snowshoed depending on the conditions. It’s about 1.5 miles to the craters and relatively flat. Stay alert if the trail is snow-covered as this is a popular snowmobiling area. If the dirt road is open to cars, the loop trail to the craters is less than one mile round-trip.
Panorama Dome
Early in the season or in low-snow years, Panorama Dome is a steep but short hike that yields amazing views of Mammoth Lakes. Park at the road closure on Lake Mary Road by Twin Lakes. Stay on the left side of Lake Mary Road—the right side is groomed for cross country skiers—and keep an eye out for the Panorama Dome trail sign. From the trailhead, it’s just a third of a mile to the top of the dome. Don’t forget to pack some snacks as you’ll want to sit and enjoy the view from the top.
Mammoth Lakes Town Loop
Locals and visitors alike love this paved path around town. The whole loop is just over 7 miles, but we recommend starting from Mammoth Creek Park. Head out through the tunnel under Old Mammoth Road and continue for a mile to the lookout point for amazing views of Mammoth Mountain. If you want a longer walk, take the dirt trail downhill just before the lookout point and continue toward Mammoth Creek for as long as you want.
Winter Hiking Just Outside of Mammoth Lakes
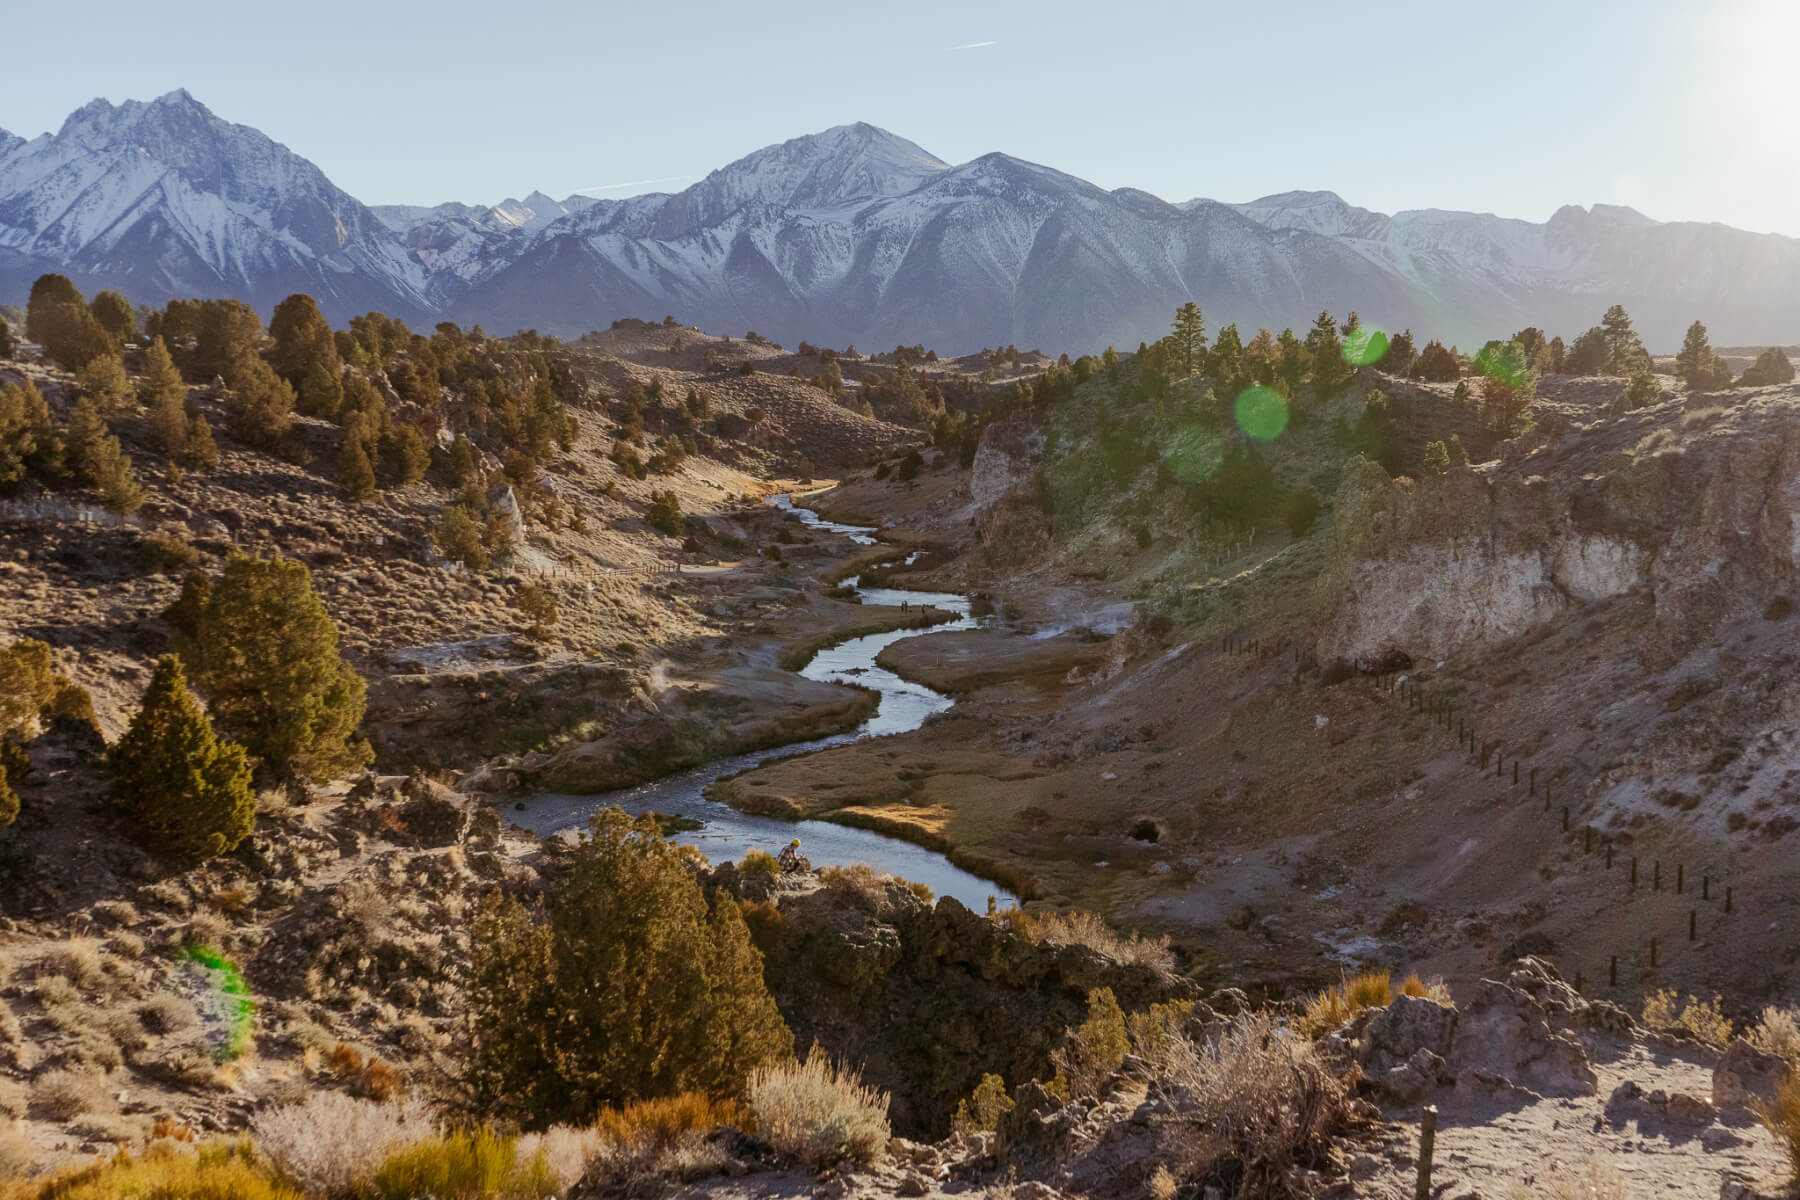
Hot Creek Geological Site
Hot Creek is a fishing and sightseeing hotspot in the summer, but it’s even more amazing in the winter. In big snowfall years, the road closes to cars but can be snowshoed or cross country skied. The magical turquoise pools can be viewed from the top of the canyon or, if conditions allow, you can hike down to and along the river before turning back.

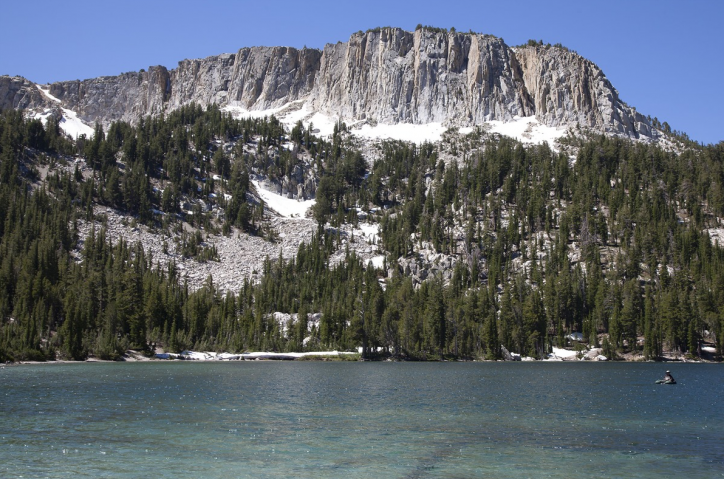
Convict Lake Loop
The three-mile loop circling Convict Lake is scenic from the first step. If there’s snow on the trail, start on the trail to the right as you arrive at the lake and make it an out-and-back hike. Snow also melts off the paved trail to the left pretty quickly on a sunny day, so you can turn your Convict Lake adventure into two mini-hikes.


Plan Your Adventure

More Posts Like This


Related Content